By the end of this section, you'll be able to:
- Open a pool vehicle record and start a vehicle inspection
- Choose the right inspection type for the moment in the lifecycle
- Capture inspector, date, and damage details accurately
- Submit the inspection and confirm it appears in the logbook
Step 1: Open the pool vehicle record
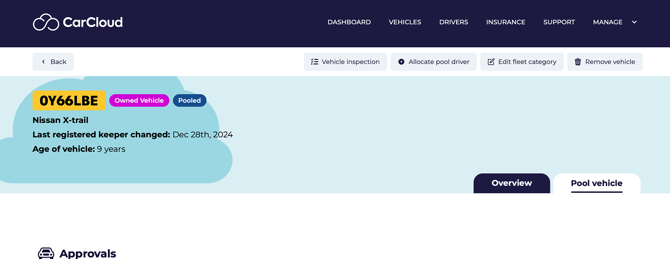
- Navigate to the vehicle record for the pool vehicle you need to inspect by clicking on the Vehicles page and then the specific registration of the vehicle concerned.
- Click the Pool Vehicle tab to access pool vehicle-specific actions.
- Confirm you're working on the correct vehicle before proceeding.
Step 2: Start a vehicle inspection
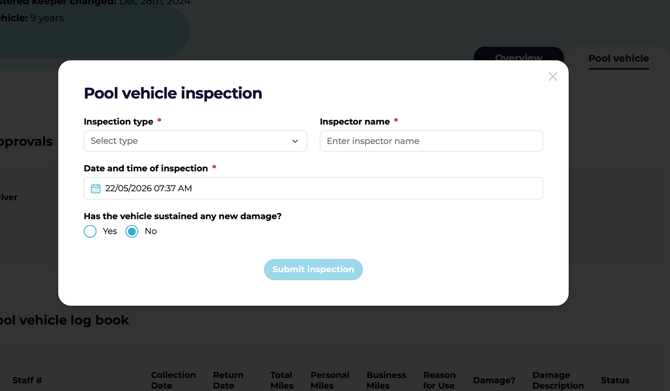
- Select the Vehicle Inspection button.
- A Vehicle Inspection pop-up window will appear.
- Choose the appropriate inspection type:
- Pre-allocation — before a driver takes the vehicle out
- Post-return — when the vehicle comes back into the pool
⚠️ Pick the right inspection type up front. Pre-allocation and Post-return feed different parts of the record, so mis-categorising one makes future comparisons harder than they need to be.
Step 3: Enter the inspection details
- Enter the inspector's name.
- Enter the date of the inspection.
- Indicate whether the vehicle has sustained any new damage.
- Make sure all fields are completed accurately before submitting.
💡 Gather the inspector's name, date, and any damage notes before you open the form — it turns the inspection into a quick paste-in job rather than something you have to context-switch on.
Step 4: Document damage and submit
- If new damage is present, enter a clear description of the damage.
- Review the information for accuracy.
- Click Submit to save the inspection.
💡 Use consistent wording when describing damage — phrases like "front bumper, near-side scuff, ~5cm" age much better than "small scratch on the front" when someone reviews the record months later.
Step 5: Confirm the inspection was logged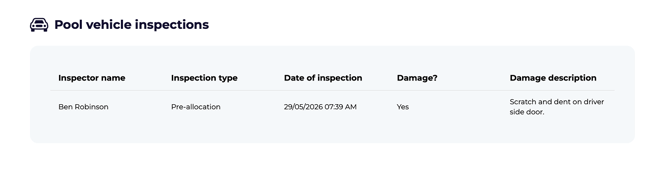
- After submission, verify that the inspection has been logged successfully.
- The inspection will appear in the vehicle inspection logbook under the pool vehicle page.
- Use this logbook to confirm the inspection record is available for future reference.
Tips for keeping pool inspections reliable
- Gather the inspector's name, inspection date, and damage notes before opening the form.
- Use consistent wording when describing damage so records are easy to compare over time.
- Double-check the vehicle selection and inspection type before submitting to prevent rework.
- Confirm the logbook entry immediately after submission to ensure the inspection was saved correctly.
- Run pre-allocation and post-return inspections every time — gaps in the record make damage attribution much harder.
What's next?
- See Allocating and Deallocating Pool Vehicles for the handover and handback workflow.
- Visit Converting a Vehicle to a Pool Vehicle if you're moving a new vehicle into the pool.
- Head to Managing Vehicle Availability if an inspection reveals the vehicle should be taken off the road.