By the end of this section, you'll be able to:
- Open the Vehicle Data screen and check the current availability status
- Mark a vehicle as unavailable, with the right reason and dates
- Understand the automatic driver deallocation that follows
- Verify the status change in the vehicles table
- Filter to view only unavailable vehicles
- Restore a vehicle to available status when it's back in service
Step 1: Open the Vehicle Data screen

- From the vehicles list, select the vehicle you need to update.
- Open the Vehicle Data screen.
- Locate the Available toggle near the vehicle status section.
- Confirm the current status before making any changes:
- Green — vehicle is currently available.
- Red — vehicle is currently unavailable.
Step 2: Mark a vehicle as unavailable

- On the Vehicle Data screen, switch or click the Available toggle off so that the toggle turns red.
- A pop-up window will appear.
- In the pop-up, enter:
- The date of unavailability
- The expected availability date
- A reason for the vehicle being unavailable
💡 Set the expected availability date when you first enter it — accurate dates upfront save you having to come back and tidy up records later.
Step 3: Select the correct unavailability reason

- Choose one of the available reasons in the pop-up:
- SORN
- Under Repair
- Not Compliant
- Other
- Confirm the selection before saving.
- Review the vehicle record to ensure the status change has been applied correctly.
⚠️ Pick the right reason category — it feeds into maintenance and compliance tracking. Other should be a last resort, not a default.
Step 4: Understand the automatic driver deallocation
- When a vehicle is marked unavailable, the platform automatically deallocates any assigned driver.
- The unavailable vehicle can no longer be selected for driver allocation.
- Verify the driver has been removed from the vehicle assignment if needed.
⚠️ Confirm the impact before you switch the toggle. If a driver is currently allocated, they'll lose access to the vehicle the moment you save — make sure they have an alternative arrangement if it matters.
Step 5: Verify the vehicle status in the vehicles table
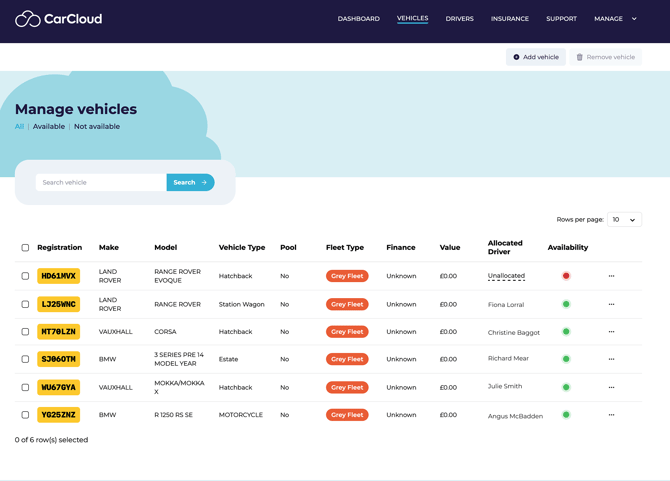
- Return to the vehicles table.
- Confirm the vehicle now displays as red, showing it isn't available to drive.
- Use this view to quickly validate that the status update was successful.
💡 The colour is a fast visual check — make it your habit to glance at the table right after any status change.
Step 6: Filter to view only unavailable vehicles

- In the vehicles area, select the Not available to drive category under the Managed Vehicles title.
- Use the filter to display only vehicles that are currently unavailable.
- Review the filtered list to monitor vehicles out of service.
Step 7: Restore a vehicle to available status

- When the vehicle is ready to return to service, go back to the individual vehicle record.
- Toggle Available back on.
- Confirm the change when prompted.
- Once confirmed, the vehicle becomes available to drive again.
- Reallocate a driver if required. (see section Vehicles management to guide you through allocating a driver)
💡 Restore availability promptly once the vehicle is back in service so it can be reassigned without delay.
Tips for keeping vehicle availability accurate
- Use the Not available to drive filter to quickly review every out-of-service vehicle in one place.
- Confirm the expected availability date at the time of entry to reduce follow-up corrections.
- Use the vehicle status colour in the table as a fast visual validation step after any change.
- Restore availability promptly once a vehicle is back in service so it can be reassigned without delay.
- Use the correct reason category so maintenance and compliance reporting stay reliable.
What's next?
- Head to the Vehicles Management page for the wider view of vehicle records.
- See Managing Drivers and Admin Accounts to reallocate drivers once a vehicle is back in service.